
Can you remove moisture from bedroom walls? Yes, you absolutely can. Addressing moisture is crucial to prevent mold growth and maintain a healthy living environment.
Moisture in bedroom walls is a common problem that can lead to serious issues like mold and mildew. These can not only damage your home but also affect your health. This guide will help you identify the causes of moisture, effectively remove it, and prevent it from returning, ensuring your bedroom remains a dry and healthy sanctuary.
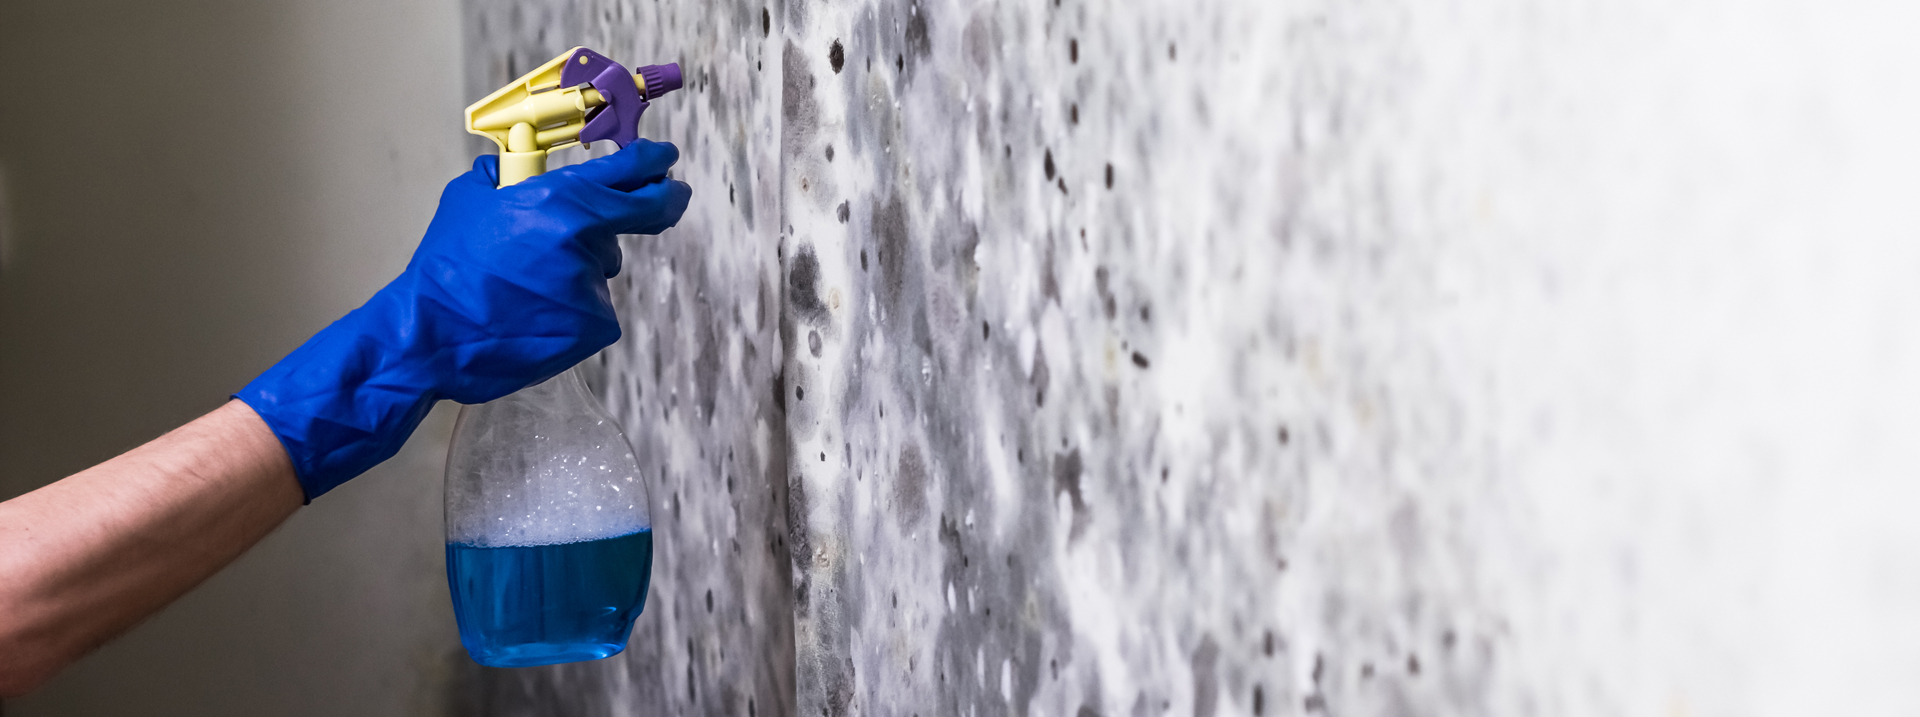
Image Source: content.mykukun.com
Locating the Source of Moisture
Before you can remove moisture, you need to find out where it’s coming from. Several culprits can be at play, from simple condensation to more complex leaks. Pinpointing the exact source is the first step to effective wall drying.
Common Moisture Causes
-
Condensation: This is perhaps the most frequent offender. Warm, moist air from everyday activities like breathing, showering (if a bathroom is nearby), cooking, or even drying clothes indoors can settle on cooler wall surfaces. This is particularly common on exterior walls, especially in older homes with less insulation.
- Breathing: Every person exhales moisture. In a well-sealed room with little air circulation, this can build up.
- Cooking and Showers: Even if your bedroom isn’t directly connected to a kitchen or bathroom, steam can travel.
- Drying Clothes Indoors: Wet laundry releases a significant amount of moisture into the air.
- Plants: Houseplants release moisture through transpiration.
- Leaks: This could be a plumbing leak within the walls or a roof leak that’s seeping down.
- Plumbing: A faulty pipe or fixture can slowly drip water, leading to dampness that may not be immediately obvious.
- Roof or Window Leaks: Water entering from the outside can travel down wall cavities.
- Rising Damp: This occurs when groundwater is absorbed by the building’s foundation and travels up through the walls via capillary action. It’s usually found in the lower sections of walls.
- Penetrating Damp: This happens when external water (rain, snowmelt) finds its way through the building’s fabric.
- Cracks in Walls: Gaps in brickwork or render.
- Faulty Guttering: Overflowing gutters can direct water against the building.
- Poorly Sealed Windows/Doors: Gaps around frames can let water in.
- High Indoor Humidity: Even without obvious leaks or condensation points, generally high humidity control issues in your home can lead to moisture on walls.
Identifying the Signs of Moisture
Look for visual cues that indicate moisture is present:
- Damp Patches: These can appear as dark spots or discoloration on the walls.
- Peeling Paint or Wallpaper: Moisture can cause coatings to lose adhesion.
- Efflorescence: White, powdery salt deposits on brick or masonry surfaces, a sign of water evaporating.
- Musty Odors: A tell-tale sign of mold or mildew growth, often a consequence of prolonged dampness.
- Visible Mold Growth: Black, green, or white fuzzy patches on the wall surface.
- Warm Spots on Walls: This can indicate a leak behind the wall.
- Condensation on Windows or Walls: Droplets of water forming on surfaces.
Methods for Removing Moisture From Bedroom Walls
Once you’ve identified the source, you can begin the removal process. This often involves a multi-pronged approach focusing on drying the existing moisture and preventing future accumulation. Effective wall drying is key.
Immediate Drying Techniques
- Improve Air Circulation: Open windows and doors (if the outside air is drier) to allow moist air to escape. Use fans to direct airflow towards damp areas.
- Use a Dehumidifier: A dehumidifier for bedroom use is an excellent tool. It actively removes moisture from the air, helping to dry out walls and prevent further condensation. Choose a unit sized appropriately for your room.
- Wipe Down Condensation: If you notice condensation, wipe it away immediately with a dry cloth or towel.
Addressing the Root Cause
- Fix Leaks: If you suspect a leak, it’s crucial to call a professional plumber or roofer to repair it. Ignoring leaks will only worsen the problem.
- Improve Insulation: Inadequate insulation can lead to cold surfaces where condensation forms. Consider adding insulation to exterior walls or the attic.
- Address Rising Damp: This often requires professional intervention, such as installing a damp-proof course.
- Repair External Issues: Seal cracks in external walls, clean gutters, and ensure window and door frames are properly sealed to prevent water ingress.
The Wall Drying Process
The actual drying of damp walls is critical and requires patience.
- Ventilation is Key: As mentioned, maximizing airflow is paramount. Open windows and use fans to create a cross-breeze.
- Dehumidifier Deployment: Place your dehumidifier for bedroom in the affected area. Keep the room doors and windows closed while the dehumidifier is running to maximize its efficiency.
- Gentle Heating: In cooler months, gentle heating can help raise the wall surface temperature, encouraging evaporation. Avoid excessive heat, which can sometimes make condensation worse if not accompanied by ventilation.
- Patience: Depending on the extent of the dampness, wall drying can take several days or even weeks. Monitor the area regularly.
Preventing Future Moisture Buildup
Removing existing moisture is only half the battle. Implementing strategies for humidity control and condensation prevention is vital for long-term success.
Enhancing Ventilation
Good ventilation is the cornerstone of moisture control.
- Regularly Open Windows: Even for a few minutes each day, opening windows helps exchange moist indoor air for drier outdoor air.
- Use Extractor Fans: If your bedroom has an en-suite bathroom or is near a kitchen, ensure extractor fans are used during and after activities that produce steam.
- Consider Mechanical Ventilation: For persistent problems, a whole-house ventilation system or a positive input ventilation (PIV) unit can be a highly effective solution. These systems introduce fresh, dry air into the property, pushing out moist air.
Managing Indoor Humidity
- Use a Dehumidifier: As discussed, a dehumidifier for bedroom is excellent for maintaining optimal humidity levels, typically between 40-60%.
- Vent Appliances: Ensure tumble dryers are vented outdoors or use a condenser model. Vent cooker hoods effectively.
- Avoid Drying Clothes Indoors: If possible, dry clothes outside or in a well-ventilated area away from the bedroom.
- Check Houseplants: While lovely, too many houseplants in a small, poorly ventilated space can contribute to humidity.
Physical Barriers and Treatments
For walls that are particularly susceptible to moisture, physical interventions can be very beneficial.
- Waterproof Coating: Applying a waterproof coating to the interior or exterior of walls can create a barrier against water ingress. This is often more effective on external walls susceptible to penetrating damp.
- Moisture Barrier: Installing a moisture barrier, such as a vapor barrier, within wall cavities or behind plasterboard can prevent moisture from reaching the surface and condensing. This is a more involved construction task.
- Porous Surface Treatment: For external masonry, applying a porous surface treatment can repel water while still allowing the wall to “breathe.” This is especially useful for brick or stone walls.
- Anti-Condensation Paint: Specially formulated paints can help reduce condensation by altering the surface temperature or absorbing small amounts of moisture.
Dealing with Mold
If mold has already started to grow, it needs to be addressed promptly. This falls under mold remediation.
Safety First
When cleaning mold, always protect yourself:
- Wear Gloves: Rubber or disposable gloves.
- Wear a Mask: A P2 or P3 respirator mask to avoid inhaling spores.
- Wear Eye Protection: Goggles.
Cleaning Mold
- Small Areas: For minor mold patches (less than 1 square meter), you can often clean them yourself.
- Ventilate the Room: Open windows and doors.
- Use a Cleaning Solution: A solution of water and detergent is usually sufficient. For tougher mold, a mild bleach solution (1 part bleach to 4 parts water) can be used, but always test in an inconspicuous area first and ensure good ventilation. Never mix bleach with ammonia.
- Scrub the Area: Gently scrub the mold away with a cloth or brush.
- Rinse and Dry: Wipe the area clean with a damp cloth and then dry thoroughly.
- Large Areas or Stubborn Mold: If mold covers a large area, is deeply embedded, or keeps returning, professional mold remediation services are recommended.
Treating the Wall After Mold
Once the mold is removed and the wall is dry, you might need to address the underlying surface damage.
- Damp Wall Repair: If the plaster or paintwork has been significantly damaged by the moisture and mold, damp wall repair may be necessary. This could involve scraping away damaged plaster, treating the surface to kill any remaining spores, and then replastering or repainting.
- Priming: Before repainting, use a stain-blocking primer to cover any residual discoloration from the mold or water.
Advanced Solutions for Persistent Moisture Issues
Sometimes, basic steps aren’t enough. If your bedroom walls continue to suffer from moisture problems, consider these more advanced ventilation solutions and repair strategies.
Improving Wall Construction
- Cavity Wall Insulation: If your home has cavity walls, ensure they are properly insulated. However, if there’s a risk of moisture bridging the cavity, insulation may need to be carefully considered and potentially installed with a damp-proof membrane.
- Insulated Plasterboard: Installing insulated plasterboard directly onto existing walls can add a thermal layer, reducing the likelihood of condensation forming on the cold surface of the wall.
- Creating Air Gaps: In some cases, constructing a new internal wall with a small air gap between it and the original damp wall can significantly help. This air gap can be ventilated.
Specialized Treatments
- Damp-Proof Membranes (DPM): These are sheets of plastic or other impervious material used during construction or renovation to prevent moisture from rising from the ground or penetrating through walls. For existing buildings, installing a DPM is a significant undertaking.
- Salt and Chemical Damp Proof Courses: If rising damp is confirmed, installing a chemical DPC involves injecting a water-repellent cream into the wall, which then spreads to form a barrier against rising moisture.
- Water Repellents: For external walls, specialized water-repellent coatings can be applied to the masonry. These coatings are designed to be breathable, allowing trapped moisture to escape from within the wall structure while preventing external water from entering.
Maintenance and Monitoring
Preventing moisture is an ongoing process. Regular checks and consistent habits are your best defense.
Regular Inspections
- Seasonal Checks: Pay extra attention to your bedroom walls during seasonal changes, such as autumn when external moisture is common, and winter when condensation is most likely.
- After Heavy Rain: Inspect walls that are exposed to prevailing weather after periods of heavy rain.
- Monitor Humidity: Keep an eye on your hygrometer (humidity meter) if you have one.
Good Habits
- Ventilate Daily: Make it a habit to open your bedroom windows for at least 15-20 minutes each day, regardless of the weather.
- Promptly Deal with Spills: Clean up any water spills immediately.
- Maintain Heating: Keep your bedroom at a consistent, comfortable temperature. Cold, unoccupied rooms are more prone to condensation.
Table: Moisture Causes and Solutions
| Cause of Moisture | Signs | Primary Solutions |
|---|---|---|
| Condensation | Droplets on walls/windows, peeling paint | Improve ventilation, use dehumidifier, insulate, manage indoor humidity. |
| Leaks (Plumbing/Roof) | Damp patches, warm spots, water stains | Professional repair of the leak source. |
| Rising Damp | Dampness at base of walls, salt deposits | Install DPC (professional), improve external drainage. |
| Penetrating Damp | Damp patches, water stains, efflorescence | Seal external cracks, repair guttering, seal window/door frames. |
| High Indoor Humidity | General dampness, musty odors | Improve ventilation, use dehumidifier, vent appliances, avoid drying clothes indoors. |
Frequently Asked Questions (FAQ)
Q1: How quickly can mold grow on damp walls?
Mold can begin to grow within 24-48 hours on a damp surface if the conditions are right (moisture, food source, and suitable temperature).
Q2: Can I paint over mold on my bedroom wall?
No, you should never paint over mold. The mold will continue to grow beneath the paint, and the moisture will still be present, potentially causing further damage. Always remove mold and ensure the wall is dry and treated before repainting.
Q3: Is it safe to sleep in a bedroom with damp walls?
It is not advisable to sleep in a room with damp walls, especially if mold is present. Mold spores can trigger allergies, asthma, and other respiratory problems. Dampness itself can also create an unhealthy environment.
Q4: What is the best dehumidifier for bedroom use?
The best dehumidifier for a bedroom is one that is appropriately sized for the room’s square footage and your specific humidity problem. Look for features like quiet operation, energy efficiency, and a large water tank or a continuous drainage option.
Q5: How can I tell if it’s condensation or a leak?
Condensation typically appears on cold surfaces like exterior walls or windows, and it’s often more prevalent in cooler months. Leaks might appear on interior walls, ceilings, or floors, and can manifest as stains or warm spots on walls. A musty smell is common to both but is a stronger indicator of mold growth from prolonged dampness, which is often associated with leaks.
By taking a proactive approach to moisture control and addressing any dampness promptly, you can ensure your bedroom remains a healthy, comfortable, and mold-free space.