
If your home’s heating or cooling system isn’t working correctly, your thermostat might be the culprit. Can you tell if your thermostat is bad? Yes, you can often identify a faulty thermostat by observing specific signs and performing simple troubleshooting steps. This article will guide you through the common symptoms of a bad thermostat, help you diagnose potential HVAC problems, and explain what to do next.
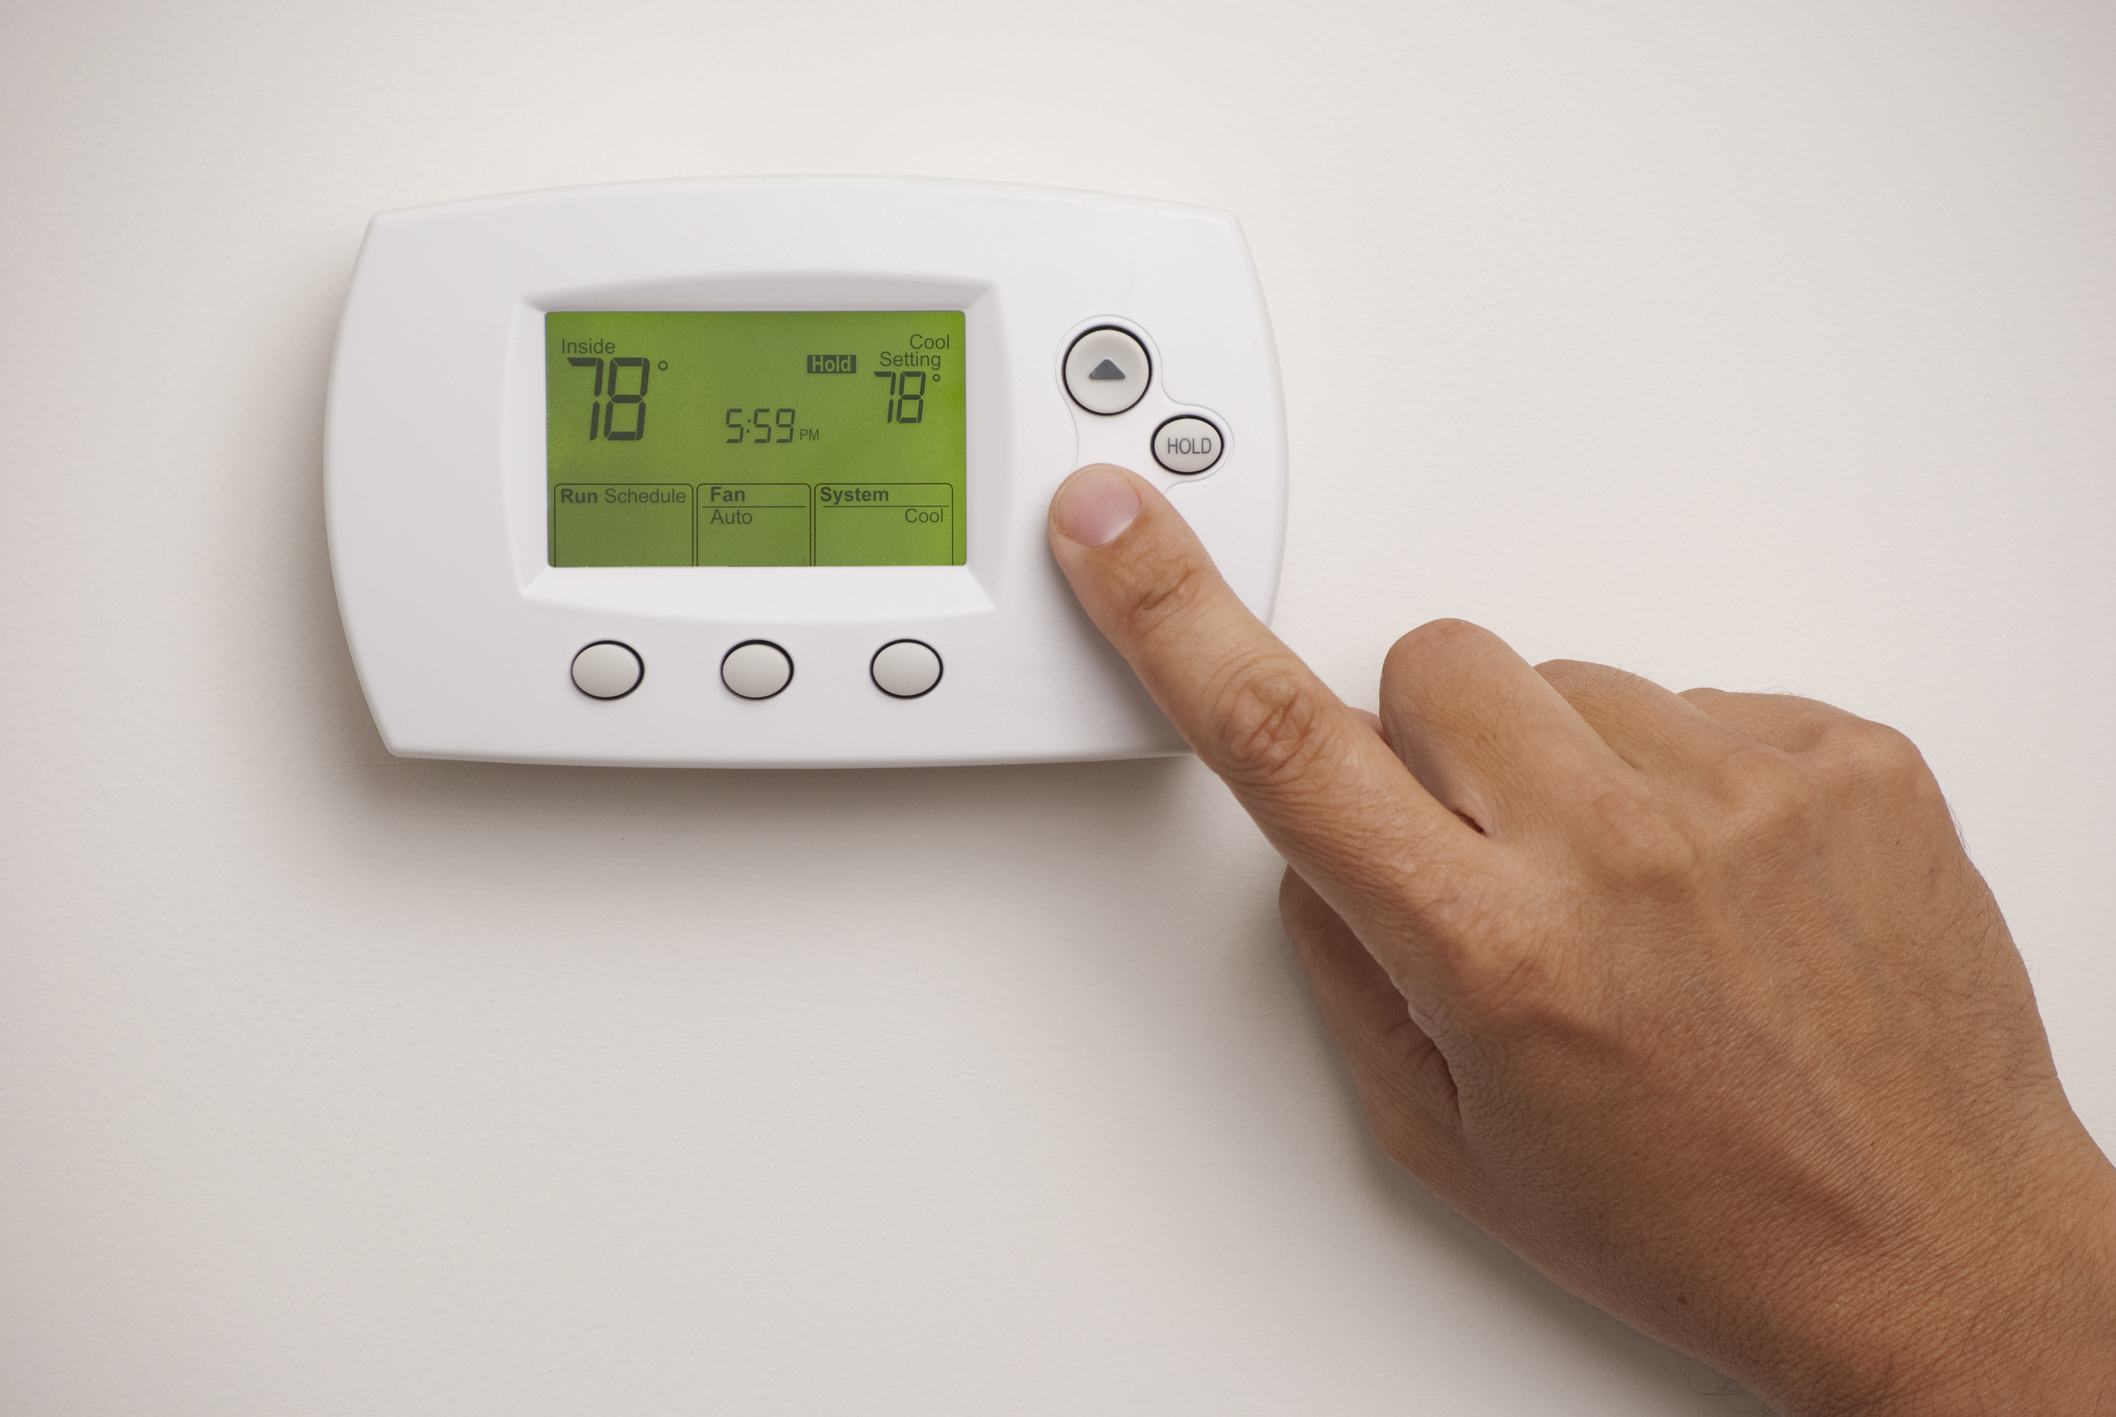
Image Source: www.gopreferred.com
Common Signs Your Thermostat Isn’t Working
Your thermostat is the brain of your home’s climate control system. When it malfunctions, your entire HVAC problems can arise. Recognizing these symptoms is the first step to restoring comfort and efficiency in your home.
Inaccurate Temperature Readings
One of the most telling signs is when your thermostat displays a temperature that doesn’t match the actual room temperature. If it reads 75°F, but the room feels much hotter or colder, the sensor or internal components might be failing. This can lead to your HVAC system running constantly or not at all, trying to reach a temperature that the thermostat incorrectly believes is already achieved.
The System Turns On and Off Randomly
If your heating or air conditioning cycles on and off erratically, without responding to your set temperature, it’s a strong indicator of a thermostat issue. This “short cycling” can be caused by a thermostat that’s not communicating properly with your furnace or air conditioner.
No Response When Adjusting Temperature
Try turning the thermostat up or down to see if your system responds. If you make adjustments and nothing happens – no fan starting, no furnace kicking in, no AC engaging – the thermostat might not be sending the signal to your HVAC unit. This is a critical sign that your thermostat not working is impacting your home’s comfort.
The Display Is Blank or Unresponsive
A blank display is an obvious sign that your thermostat has lost power. This could be due to dead batteries, a tripped breaker, or a problem with the thermostat itself. If replacing the batteries doesn’t bring the display back to life, it’s time for further investigation.
The HVAC System Runs Constantly
If your heating or air conditioning runs non-stop, even when the set temperature is reached, your thermostat might be stuck in the “on” position or failing to register the ambient temperature correctly. This is not only uncomfortable but also incredibly inefficient and can lead to higher energy bills.
Inconsistent Heating or Cooling
You might notice that some rooms are comfortable while others are too hot or too cold. While this can sometimes be an issue with air circulation or ductwork, a faulty thermostat can also contribute by not accurately reading the temperature in the primary location where it’s installed, thus affecting the overall system’s performance.
Thermostat Errors or Error Codes
Modern digital thermostats often have diagnostic features and can display error codes. If your thermostat is showing an error message, consult your owner’s manual to decipher what it means. These codes can often point directly to a thermostat malfunction or an issue with the system it controls.
Troubleshooting Common Thermostat Issues
Before assuming your thermostat is beyond repair, there are several troubleshooting steps you can take. These steps can help you pinpoint whether the thermostat is the problem or if it’s another part of your HVAC system.
Check the Batteries (If Applicable)
Many modern thermostats are powered by batteries, especially digital ones. Low or dead batteries are one of the most common reasons for a blank or unresponsive display.
- Action: Open the thermostat cover and replace the batteries with fresh ones. Ensure you are using the correct type of batteries as specified by the manufacturer.
Verify Power Supply and Circuit Breakers
If your thermostat is hardwired, it receives power from your home’s electrical system. A tripped circuit breaker can cut off power to the thermostat and your HVAC system.
- Action: Locate your home’s electrical panel. Find the breaker labeled for your HVAC system or furnace/air conditioner. If it’s in the “off” position or in the middle, flip it completely to “off” and then back to “on.”
Test the Thermostat’s Settings
Sometimes, the issue isn’t a faulty thermostat but incorrect settings.
- Action:
- Ensure the thermostat is set to the correct mode (Heat, Cool, or Auto).
- Check that the fan setting is not permanently set to “On.” It should typically be set to “Auto” unless you want the fan to run continuously.
- Confirm the desired temperature is set correctly and that it’s calling for heating (temperature set higher than room temp) or cooling (temperature set lower than room temp).
Inspect the Thermostat Wiring
Loose or corroded wires can disrupt the communication between your thermostat and your HVAC system. It’s crucial to check thermostat wiring carefully.
- Action:
- Safety First: Turn off the power to your HVAC system at the circuit breaker.
- Gently remove the thermostat cover. This often involves pulling it straight off or releasing small clips.
- Examine the wires connected to the terminals. Look for any signs of loose connections, corrosion, or damage.
- If a wire appears loose, gently push it back into its terminal. Ensure it’s securely seated.
- If you see corrosion (a green or whitish powder), carefully clean the terminals with a soft cloth or a pencil eraser.
- Important: Take a picture of the wiring setup before disconnecting or adjusting anything. This will help you reconnect them correctly.
- Replace the thermostat cover and restore power at the breaker.
Examine the Thermostat for Physical Damage
Sometimes, visible damage can indicate a problem.
- Action: Look for cracks in the casing, loose buttons, or any other obvious physical damage.
Clean the Thermostat
Dust and debris can accumulate inside the thermostat, affecting the sensor’s accuracy.
- Action:
- Turn off power to the HVAC system at the circuit breaker.
- Remove the thermostat cover.
- Use a can of compressed air to gently blow out any dust or debris from inside the thermostat, especially around the sensor and mechanical components (if it’s an older model).
- Reassemble and restore power.
Symptoms of a Faulty Thermostat and HVAC Problems
When the basic troubleshooting steps don’t resolve the issue, it’s more likely that the thermostat itself is faulty, or there are deeper HVAC problems. Here’s how to differentiate:
Thermostat Not Working vs. Furnace Issues
If your heating not working, it can be tricky to distinguish between a thermostat problem and a furnace issue.
| Symptom | Potential Thermostat Issue | Potential Furnace Issue |
|---|---|---|
| Heating won’t turn on, display is blank. | Dead batteries, faulty thermostat, no power to thermostat. | Tripped breaker, safety lockout, faulty ignitor, gas valve issue, blower motor failure. |
| Heating runs constantly, won’t turn off. | Thermostat stuck “on” or not sensing room temp. | Faulty limit switch, stuck relay, malfunctioning control board. |
| Heating cycles on and off rapidly. | Thermostat not communicating properly. | Dirty air filter, oversized furnace, short cycling due to pressure issues. |
| Thermostat shows correct temp, but no heat. | Thermostat not sending signal to furnace. | Pilot light out, malfunctioning ignitor, thermocouple failure, blocked flue. |
| Thermostat is unresponsive to settings. | Internal electronic failure, faulty connection. | Control board failure, wiring issue within the furnace unit. |
Thermostat Not Working vs. Cooling Issues
Similarly, if your cooling not working, the thermostat could be the cause, or it could be an issue with the air conditioner unit.
| Symptom | Potential Thermostat Issue | Potential Air Conditioner Issue |
|---|---|---|
| Cooling won’t turn on, display is blank. | Dead batteries, faulty thermostat, no power to thermostat. | Tripped breaker, faulty capacitor, refrigerant leak, compressor failure, dirty condenser coils. |
| Cooling runs constantly, won’t turn off. | Thermostat stuck “on” or not sensing room temp. | Faulty thermostat, but also potentially a stuck contactor or control board issue in the AC. |
| Cooling cycles on and off rapidly. | Thermostat not communicating properly. | Dirty air filter, low refrigerant, iced-up evaporator coil, improperly sized AC unit. |
| Thermostat shows correct temp, but no cool. | Thermostat not sending signal to the AC unit. | Faulty contactor, failed fan motor, compressor issue, clogged condensate drain. |
| Thermostat is unresponsive to settings. | Internal electronic failure, faulty connection. | Control board failure, wiring issue within the AC unit. |
When to Consider Thermostat Replacement
If you’ve gone through the troubleshooting steps and the symptoms persist, it’s highly likely that your thermostat is indeed bad and needs to be replaced.
Age of the Thermostat
Thermostats, like any electronic device, have a lifespan. Most basic digital thermostats last between 10 and 15 years. If your thermostat is older than this, it’s more prone to failure. Smart thermostats may have a similar or slightly shorter lifespan due to more complex electronics.
Persistent and Unexplained HVAC Behavior
If your system continues to exhibit erratic behavior, inaccurate readings, or complete lack of response after you’ve ruled out simpler issues like filters or power, the thermostat is the most probable cause.
Inability to Maintain Desired Temperature
If your home is consistently too hot or too cold, and you’ve checked other factors like insulation and ductwork, a malfunctioning thermostat is a strong candidate.
Compatibility with New HVAC Systems
If you’ve recently upgraded your HVAC system, your old thermostat might not be compatible with the new technology. Newer, high-efficiency systems often require modern, communicating thermostats for optimal performance.
Choosing and Replacing a Thermostat
Types of Thermostats
- Manual (Mercury or Dial): These are the oldest types. They are simple but lack advanced features and can be less accurate. If you have one of these, upgrading can significantly improve efficiency.
- Programmable: Allows you to set schedules for different temperatures throughout the day and week, saving energy.
- Smart Thermostats: Connect to Wi-Fi, allowing remote control via smartphone apps. They can learn your habits, provide energy usage reports, and integrate with other smart home devices.
Thermostat Replacement Cost
The thermostat replacement cost can vary widely depending on the type of thermostat you choose and whether you hire a professional or do it yourself.
- DIY Thermostat Replacement:
- Cost of a new thermostat: $25 (basic programmable) to $300+ (high-end smart thermostat).
- Time investment: 1-3 hours, depending on your comfort level with electrical work.
- Professional Thermostat Replacement:
- Labor costs: Typically $75 to $200, in addition to the cost of the thermostat.
- Total cost: $100 to $500+, depending on the thermostat and local labor rates.
DIY Thermostat Replacement Steps
If you’re comfortable with basic DIY tasks and electrical wiring, you can replace your thermostat yourself.
Tools You’ll Need:
- New thermostat
- Screwdriver (usually Phillips head)
- Pliers (needle-nose can be helpful)
- Wire stripper (optional, if wires need trimming)
- Pencil
- Level (optional, to ensure new thermostat is straight)
- Drill with appropriate bit (if wall anchors are needed)
- New batteries (if applicable)
Steps:
- Turn Off Power: This is the most crucial step. Go to your electrical panel and switch off the breaker for your HVAC system.
- Remove Old Thermostat Cover: Gently pull the old thermostat cover off the wall plate.
- Photograph Wiring: Before disconnecting any wires, take a clear photo of how the wires are connected to the terminals. Label each wire with a piece of tape if the terminal labels aren’t clear.
- Disconnect Wires: Carefully disconnect each wire from its terminal. Most thermostats have push-in terminals or screws.
- Remove Old Wall Plate: Unscrew the old wall plate from the wall.
- Prepare New Wall Plate: If your new thermostat comes with a new wall plate, feed the wires through it. If the new thermostat is smaller, you might need to patch and paint the wall or use a special trim plate.
- Mount New Wall Plate: Secure the new wall plate to the wall using screws. Use a level to ensure it’s straight.
- Connect New Thermostat Wires: Refer to your wiring photo and the new thermostat’s manual. Connect each wire to the corresponding terminal on the new thermostat. Ensure the wires are securely inserted or screwed in.
- Common wire designations: R (power), C (common wire, provides continuous power for digital thermostats), W (heat), Y (cool), G (fan).
- Install New Thermostat: Snap the new thermostat onto its wall plate.
- Install Batteries (If Applicable): Insert fresh batteries if your new thermostat requires them.
- Turn Power Back On: Go back to your electrical panel and turn the HVAC breaker back on.
- Test the New Thermostat: Power up the thermostat and test its functions. Set it to heat and then to cool to ensure your system responds correctly.
When to Call a Professional
- If you’re uncomfortable with electrical wiring or DIY projects.
- If you’re unsure about the wiring connections.
- If the problem persists after replacing the thermostat.
- If your HVAC system is complex or has specialized wiring.
- If you encounter an error code you can’t resolve.
Frequently Asked Questions (FAQ)
Q1: Can a thermostat cause my furnace not to turn on?
A1: Yes, a faulty thermostat can absolutely prevent your furnace from turning on. If the thermostat isn’t sending the correct signal to the furnace, or if it has no power, the furnace will not ignite.
Q2: What does it mean if my thermostat screen is blank?
A2: A blank thermostat screen typically means it has lost power. This could be due to dead batteries (if battery-powered), a tripped circuit breaker, or a wiring issue.
Q3: How often should I replace my thermostat?
A3: Most thermostats are designed to last 10-15 years. However, if you’re experiencing issues or want to upgrade to a more energy-efficient model, you might consider replacement sooner.
Q4: Can I replace my thermostat myself?
A4: Yes, you can replace your thermostat yourself if you’re comfortable with basic electrical work and follow safety precautions, such as turning off power at the breaker.
Q5: What is a “C” wire, and why do I need it?
A5: The “C” wire, or common wire, provides continuous 24-volt power to the thermostat. This is essential for most digital and smart thermostats to operate their displays and Wi-Fi features. Older thermostats often didn’t require a C wire because they relied on batteries or only needed power when calling for heating or cooling. If your new thermostat requires a C wire and you don’t have one, you may need to have one installed by an HVAC professional or use an adapter kit.
Q6: My smart thermostat isn’t connecting to Wi-Fi. Is the thermostat bad?
A6: Not necessarily. Wi-Fi connectivity issues can stem from your home network, router placement, or incorrect Wi-Fi password entry. Try restarting your router and modem, ensuring the thermostat is within range of your Wi-Fi signal, and double-checking your network credentials. If these steps don’t resolve the issue, the thermostat’s Wi-Fi module might be faulty.
Q7: What are the signs of a faulty thermostat in a heat pump system?
A7: Similar to furnaces and air conditioners, a faulty thermostat in a heat pump system can cause issues like the system not turning on, running constantly, cycling erratically, or failing to provide the correct temperature. Heat pumps also have auxiliary heat, and a faulty thermostat might not correctly engage it during very cold weather, leading to insufficient heating.
Conclusion
Knowing when your thermostat is bad is crucial for maintaining a comfortable and efficient home. By recognizing the common symptoms and performing basic troubleshooting, you can often diagnose the problem yourself. Whether it’s a simple fix like changing batteries or a more involved thermostat replacement, understanding these steps empowers you to take action and ensure your home’s climate control system is working optimally. If in doubt, always consult a qualified HVAC professional.