
Can you level a Class C motorhome using only stabilizer jacks? No, stabilizer jacks are not designed to carry the full weight of your RV; they are meant to prevent rocking. Proper leveling requires engaging with the chassis or frame. This guide will walk you through how to level your Class C motorhome safely and perfectly, ensuring a comfortable and stable experience on every adventure.
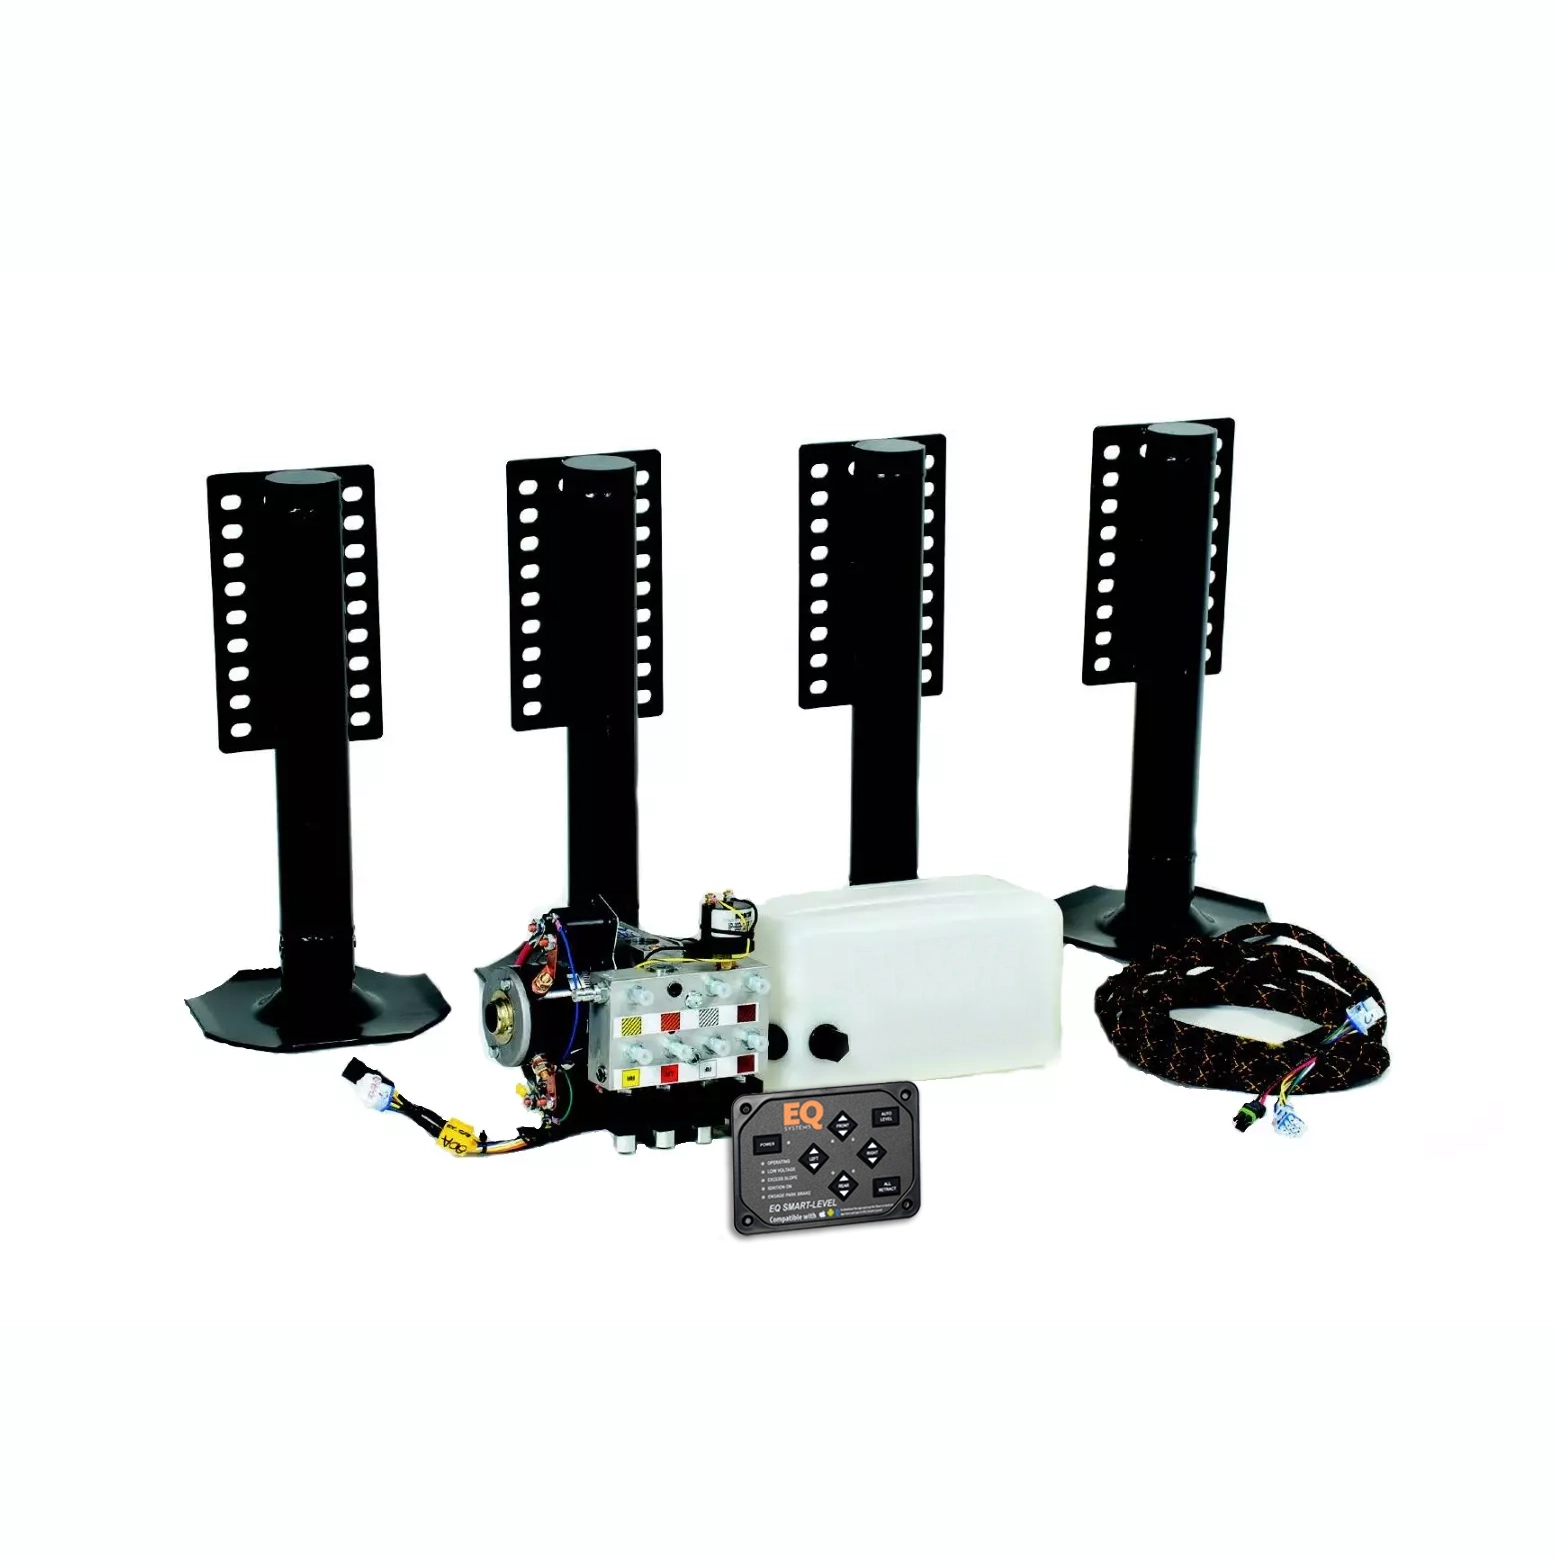
Image Source: eqsystems.us
Why Leveling Matters
Leveling your Class C motorhome isn’t just about comfort; it’s crucial for several reasons:
- Appliance Functionality: Refrigerators in RVs rely on a level surface to operate efficiently. If your RV is tilted, the cooling mechanism can malfunction, leading to spoiled food.
- Plumbing: Toilets and sinks need to be level for proper drainage. Improper leveling can cause water to pool or not drain correctly, potentially leading to odors and unsanitary conditions.
- Comfort: Sleeping, cooking, and simply walking around in an unlevel RV can be disorienting and uncomfortable. You’ll feel the slope with every step.
- Structural Integrity: While less common, prolonged unlevel parking can put undue stress on certain parts of the RV’s structure and chassis.
- Slide-Out Operation: If your motorhome has slide-outs, they are designed to operate when the RV is perfectly level. Operating them while unlevel can cause them to bind, malfunction, or even damage the seals and mechanisms.
Finding Level Ground for RV
The first step to perfect leveling is selecting the right spot. This is the foundation of your entire setup.
Scouting Your Campsite
Before you even think about deploying jacks, take a walk around your intended parking spot.
- Visual Inspection: Look for obvious dips, humps, or slopes. Even a slight angle can be enough to cause problems.
- Test with Your Feet: Walk around the area. Can you feel a slope? Sometimes, your own body can be a surprisingly good indicator.
- Consider Surroundings: Are there trees that could fall? Are you too close to other campers? Is the ground soft and likely to sink under your RV’s weight?
Using Tools to Find the Flattest Spot
While your eyes are important, technology can help ensure you’re parking on the flattest possible patch.
- Bubble Level for RV: The most basic and essential tool is a bubble level for RV. You can get simple ones that stick to your dashboard or a larger, more robust torpedo level. Place it on a flat surface inside your RV, like the kitchen counter or floor, to gauge the tilt. You’ll likely need one for both the front-to-back (fore/aft) and side-to-side (lateral) directions.
- Smartphone Apps: Many smartphone apps utilize your phone’s accelerometer to act as a level. These can be surprisingly accurate and convenient.
- RV Leveling Apps: Some dedicated RV apps not only act as levels but can also help you find the optimal parking spot by indicating the direction and degree of slope.
Methods of Leveling a Class C Motorhome
Once you’ve found your spot, it’s time to level. There are several methods, often used in combination.
1. Using RV Leveling Ramps and Motorhome Leveling Blocks
This is the most common method for initial leveling.
- RV Leveling Ramps: These are wedge-shaped devices that you drive onto to raise one side of the RV. They come in various heights and designs, some with multiple levels to allow for fine-tuning.
- Motorhome Leveling Blocks: These are stackable blocks, often made of durable plastic or wood. You can use them to create custom heights under your wheels or under your jacks.
Step-by-Step with Ramps and Blocks:
- Position the RV: Drive your Class C motorhome slowly towards the side that needs to be raised.
- Place the Ramp: Before you get to the spot, have your leveling blocks and ramp ready. Place the ramp on the ground where the tire will land. If you need more height, stack your motorhome leveling blocks securely beneath the ramp.
- Drive Onto the Ramp: Slowly drive the RV’s front wheel onto the ramp until your side-to-side bubble level indicates it’s level. Don’t over-drive! You can always add more height.
- Stabilize the Opposite Side: Once the side-to-side level is achieved, you’ll likely need to address the front-to-back level. This is where your other leveling tools come into play.
2. Manual Leveling Jacks (Scissor Jacks or Screw Jacks)
These jacks are typically found at each corner of the RV frame.
- Purpose: They are primarily for stabilizing the RV and taking the weight off the suspension, preventing rocking. They can be used for minor leveling adjustments, but it’s best to get as close as possible with ramps first.
- Caution: Never extend manual leveling jacks so far that they lift the tires completely off the ground. This can put excessive stress on the RV frame and suspension. The goal is to make contact and take up the slack, not to support the entire vehicle’s weight.
Using Manual Jacks:
- Initial Leveling: Achieve side-to-side level with ramps.
- Front-to-Back Level: Use your bubble level to check the front-to-back tilt. You might need to use leveling blocks or drive onto something to raise the front or rear if necessary.
- Deploy Jacks: Once the RV is reasonably level, manually crank down the stabilizer jacks at each corner until they make firm contact with the ground. They should be snug, not bearing the full weight of the RV.
3. Automatic Leveling Systems
Many modern Class C motorhomes come equipped with an automatic leveling system. This is a hydraulic or electric system that extends jacks or large pads to level the RV automatically.
- How it Works: Typically, these systems have a control panel inside the RV. You press a button, and the system automatically extends its jacks or pads to find level.
- Benefits: Convenience and speed. They can often handle more significant leveling adjustments than manual methods.
- Considerations:
- Ground Stability: Even with automatic systems, the ground beneath the pads needs to be firm. You might still need to use motorhome leveling blocks under the automatic jacks on soft ground.
- Calibration: Some systems require periodic calibration to ensure accuracy.
- Maintenance: Like any hydraulic system, they require occasional checks for leaks and proper fluid levels.
Using an Automatic System:
- Park and Prepare: Park in your desired spot. Ensure the area is clear of obstructions.
- Engage Parking Brake: Firmly engage the parking brake.
- Activate System: Go inside and activate the automatic leveling system.
- Observe: Watch as the system extends its jacks. The system usually has built-in sensors to detect when the RV is level.
- Check and Adjust: Once the system indicates it’s done, use your bubble level for RV to confirm the levelness. Some systems allow for minor manual adjustments.
4. Hitch-Head Leveler (Less Common for Class C, More for Towables)
While more common for travel trailers and fifth wheels, some Class C motorhomes with a towing setup might have a hitch-head leveler. This device is used to adjust the angle of the hitch itself. However, for leveling the motorhome itself, you’ll be using the methods described above.
Leveling a Motorhome on a Slope
Leveling a motorhome on a slope presents a greater challenge but is entirely manageable with the right approach.
The Strategy:
The core principle remains the same: get the RV as level as possible using the lowest points of contact first.
- Identify the High Side: Determine which side of the RV is higher. You will need to raise the lower side.
- Determine the Low Corner: Identify which corner is the lowest, both front-to-back and side-to-side.
- Use Max Height Wisely: If you have significant slopes, you might need to use your highest RV leveling ramps or stack a substantial number of motorhome leveling blocks under the tires on the low side.
- Consider Front vs. Rear: If the front is much lower than the rear, you might need to add height to the front wheels as well, or use your rear jacks more extensively.
- Jacks on the High Side: Be very cautious about extending jacks on the high side. You only want them to make contact, not to support significant weight. If you need to raise the low side considerably, you might have to lower the jacks on the high side slightly to allow the RV to settle onto the blocks/ramps.
- Stabilizers as Lifters (Carefully): In extreme cases, you might need to use your manual leveling jacks to lift a tire slightly off the ground to get a ramp underneath. This is a last resort and requires extreme caution. Ensure the jacks are positioned securely on a solid base (like a sturdy block) and never extend them beyond their safe operating limits.
Example Scenario: Steep Side Slope
Imagine your RV is tilted significantly to the passenger side.
- Driver’s Side Needs Lifting: You’ll place your RV leveling ramps and motorhome leveling blocks on the driver’s side tires.
- Drive Up: Slowly drive the driver’s side wheels onto the stacked blocks and ramps until your side-to-side level indicates it’s centered.
- Front-to-Back Check: Now check the front-to-back level. If it’s off, you might need to adjust the blocks/ramps under the front or rear driver’s side tire, or use the corresponding jack.
Example Scenario: Steep Front Slope
Imagine the front of your RV is significantly lower than the rear.
- Front Needs Lifting: Place your motorhome leveling blocks and/or RV leveling ramps under the front wheels.
- Drive Up: Slowly drive the front wheels onto the added height until the front-to-back level is achieved.
- Side-to-Side Check: Now, check the side-to-side level. If it’s off, you might need to add blocks/ramps to one of the front tires or use the corresponding front jack.
Securing Your Class C Motorhome
Once leveled, securing your RV is paramount.
Motorhome Wheel Chocks
- Purpose: Motorhome wheel chocks are wedges placed against the wheels to prevent the RV from rolling. They are essential safety devices.
- Placement:
- Always chock at least one set of wheels, typically the drive wheels if you have rear-wheel drive, or opposing wheels.
- Place chocks firmly against the tires, on both the front and back sides of the tire, if possible, especially on sloped surfaces.
- Ensure they are positioned so that if the RV were to move, the chocks would stop it.
Engaging the Parking Brake
- Crucial Step: Always engage your motorhome’s parking brake before you start the leveling process and ensure it’s fully engaged once the RV is parked. This is your primary safety net against rolling.
Stabilizer Jacks vs. Leveling Jacks
It’s important to distinguish between your primary leveling mechanisms and your stabilizing jacks.
- Leveling Jacks: These are the jacks (either manual or automatic) that are designed to support the weight of the RV and lift it to achieve a level position.
- Stabilizer Jacks: Often referred to as stabilizer jacks, these are typically smaller, scissor-type jacks located at the corners. Their main job is to stop the rocking motion when you walk inside or when there’s wind. They should not be used to lift the RV off the ground for leveling. They only need to be snug enough to eliminate movement.
Pre-Leveling Checks and Tips
Before you begin the actual leveling process, a few checks can save you time and frustration.
Tire Pressure
- Check Your Tires: Ensure your tires are properly inflated. Underinflated tires can deform and lead to inaccurate leveling.
Ground Condition
- Soft Ground: Avoid parking on excessively soft or muddy ground. If you must, use wide, sturdy blocks (like thick plywood or dedicated RV ground mats) under your tires or jacks to distribute the weight and prevent sinking.
Level of Tilt
- Gauge the Slope: Use your bubble level for RV early in the process to get a sense of how much adjustment is needed. This helps you know how many motorhome leveling blocks or what height of RV leveling ramps you might need.
Slide-Out Awareness
- Clearance: If your RV has slide-outs, ensure you have enough clearance from trees, other RVs, or obstructions on the side where the slide-out will deploy. Leveling can shift the RV’s position slightly.
Post-Leveling Checks
Once you think you’re level, it’s time for a final verification.
Inside Checks
- Multiple Locations: Place your bubble level for RV on different flat surfaces inside your motorhome – the kitchen counter, the bathroom counter, the floor in the hallway, the bed.
- Fore/Aft and Side/Side: Ensure the bubble is centered in both directions on all surfaces.
- Feel the Difference: Walk around. Does it feel stable? Do you notice any tilting?
- Refrigerator Test: Open the refrigerator door. Does it stay open on its own, or does it swing shut or open? It should stay put or swing slightly towards the closed position if it’s perfectly level.
Outside Checks
- Jack Footings: Ensure all jacks are firmly planted on the ground or on solid blocks.
- Tire Contact: Confirm that your tires are either firmly on the ground or, if using ramps, resting securely against the stops.
Troubleshooting Common Leveling Issues
RV Rocks Excessively
- Problem: Even after leveling, the RV still rocks when you walk around.
- Solution: Your stabilizer jacks are likely not extended enough or are not making firm contact. Extend them further until they are snug and take up the slack. Ensure they are not lifting the frame.
Leveling System Won’t Extend Fully
- Problem: Hydraulic or automatic leveling jacks don’t seem to reach the ground, or the system displays an error.
- Solution:
- Check for obstructions: Is anything blocking the jacks?
- Low fluid: For hydraulic systems, the fluid level might be low. Consult your owner’s manual.
- Insufficient height: You might have too much of a slope for the system to handle alone. You may need to pre-level with motorhome leveling blocks or RV leveling ramps before using the automatic system.
Tires Lift Off the Ground
- Problem: Your jacks have lifted the tires completely off the ground.
- Solution: This is dangerous! Immediately retract the jacks on that corner and lower the RV. Use your motorhome leveling blocks or RV leveling ramps to raise the opposite side or to reduce the amount the jack needs to lift.
Uneven Tire Wear
- Problem: If you consistently have to level on a slope, and your RV feels off-balance, it could lead to uneven tire wear.
- Solution: Always prioritize finding the flattest spot possible. If a slope is unavoidable, ensure your leveling is as precise as possible and double-check that you aren’t putting excessive, uneven pressure on the chassis.
Frequently Asked Questions (FAQ)
Q: How often should I check if my motorhome is level?
A: It’s a good practice to check your RV’s level after the initial setup and again after deploying slide-outs. Re-checking daily or after significant weather events (like strong winds) is also recommended.
Q: Can I leave my automatic leveling system deployed all the time?
A: It’s generally recommended to retract your leveling jacks when you are driving. Leaving them deployed can cause damage to the jacks or the ground, and can affect the RV’s handling.
Q: What are the best motorhome leveling blocks?
A: Durable, stackable plastic blocks are popular due to their strength and ease of use. Wood blocks can also work but may degrade over time and are heavier. Look for blocks designed for RV use that can handle the weight.
Q: My refrigerator is not cooling well. Could it be unlevel?
A: Yes, this is a very common symptom of an unlevel RV. Refrigerators in RVs use an absorption cooling system that requires a level surface to function correctly. Leveling your RV should resolve this issue.
Q: Do I need to chock my wheels if I have an automatic leveling system?
A: Absolutely! While automatic leveling systems are robust, the parking brake and wheel chocks are your primary safety measures against rolling. Always use motorhome wheel chocks and engage the parking brake.
By following these detailed steps and tips, you can ensure your Class C motorhome is always leveled safely and perfectly, making every camping trip more enjoyable and worry-free. Happy travels!