
Can you paint unfinished kitchen cabinets? Yes, you absolutely can paint unfinished kitchen cabinets, and with the right steps and materials, you can achieve a beautiful, professional-looking finish that transforms your kitchen. This comprehensive guide will walk you through the entire process, from initial preparation to the final coat of sealant, ensuring your new cabinets are a stunning focal point.
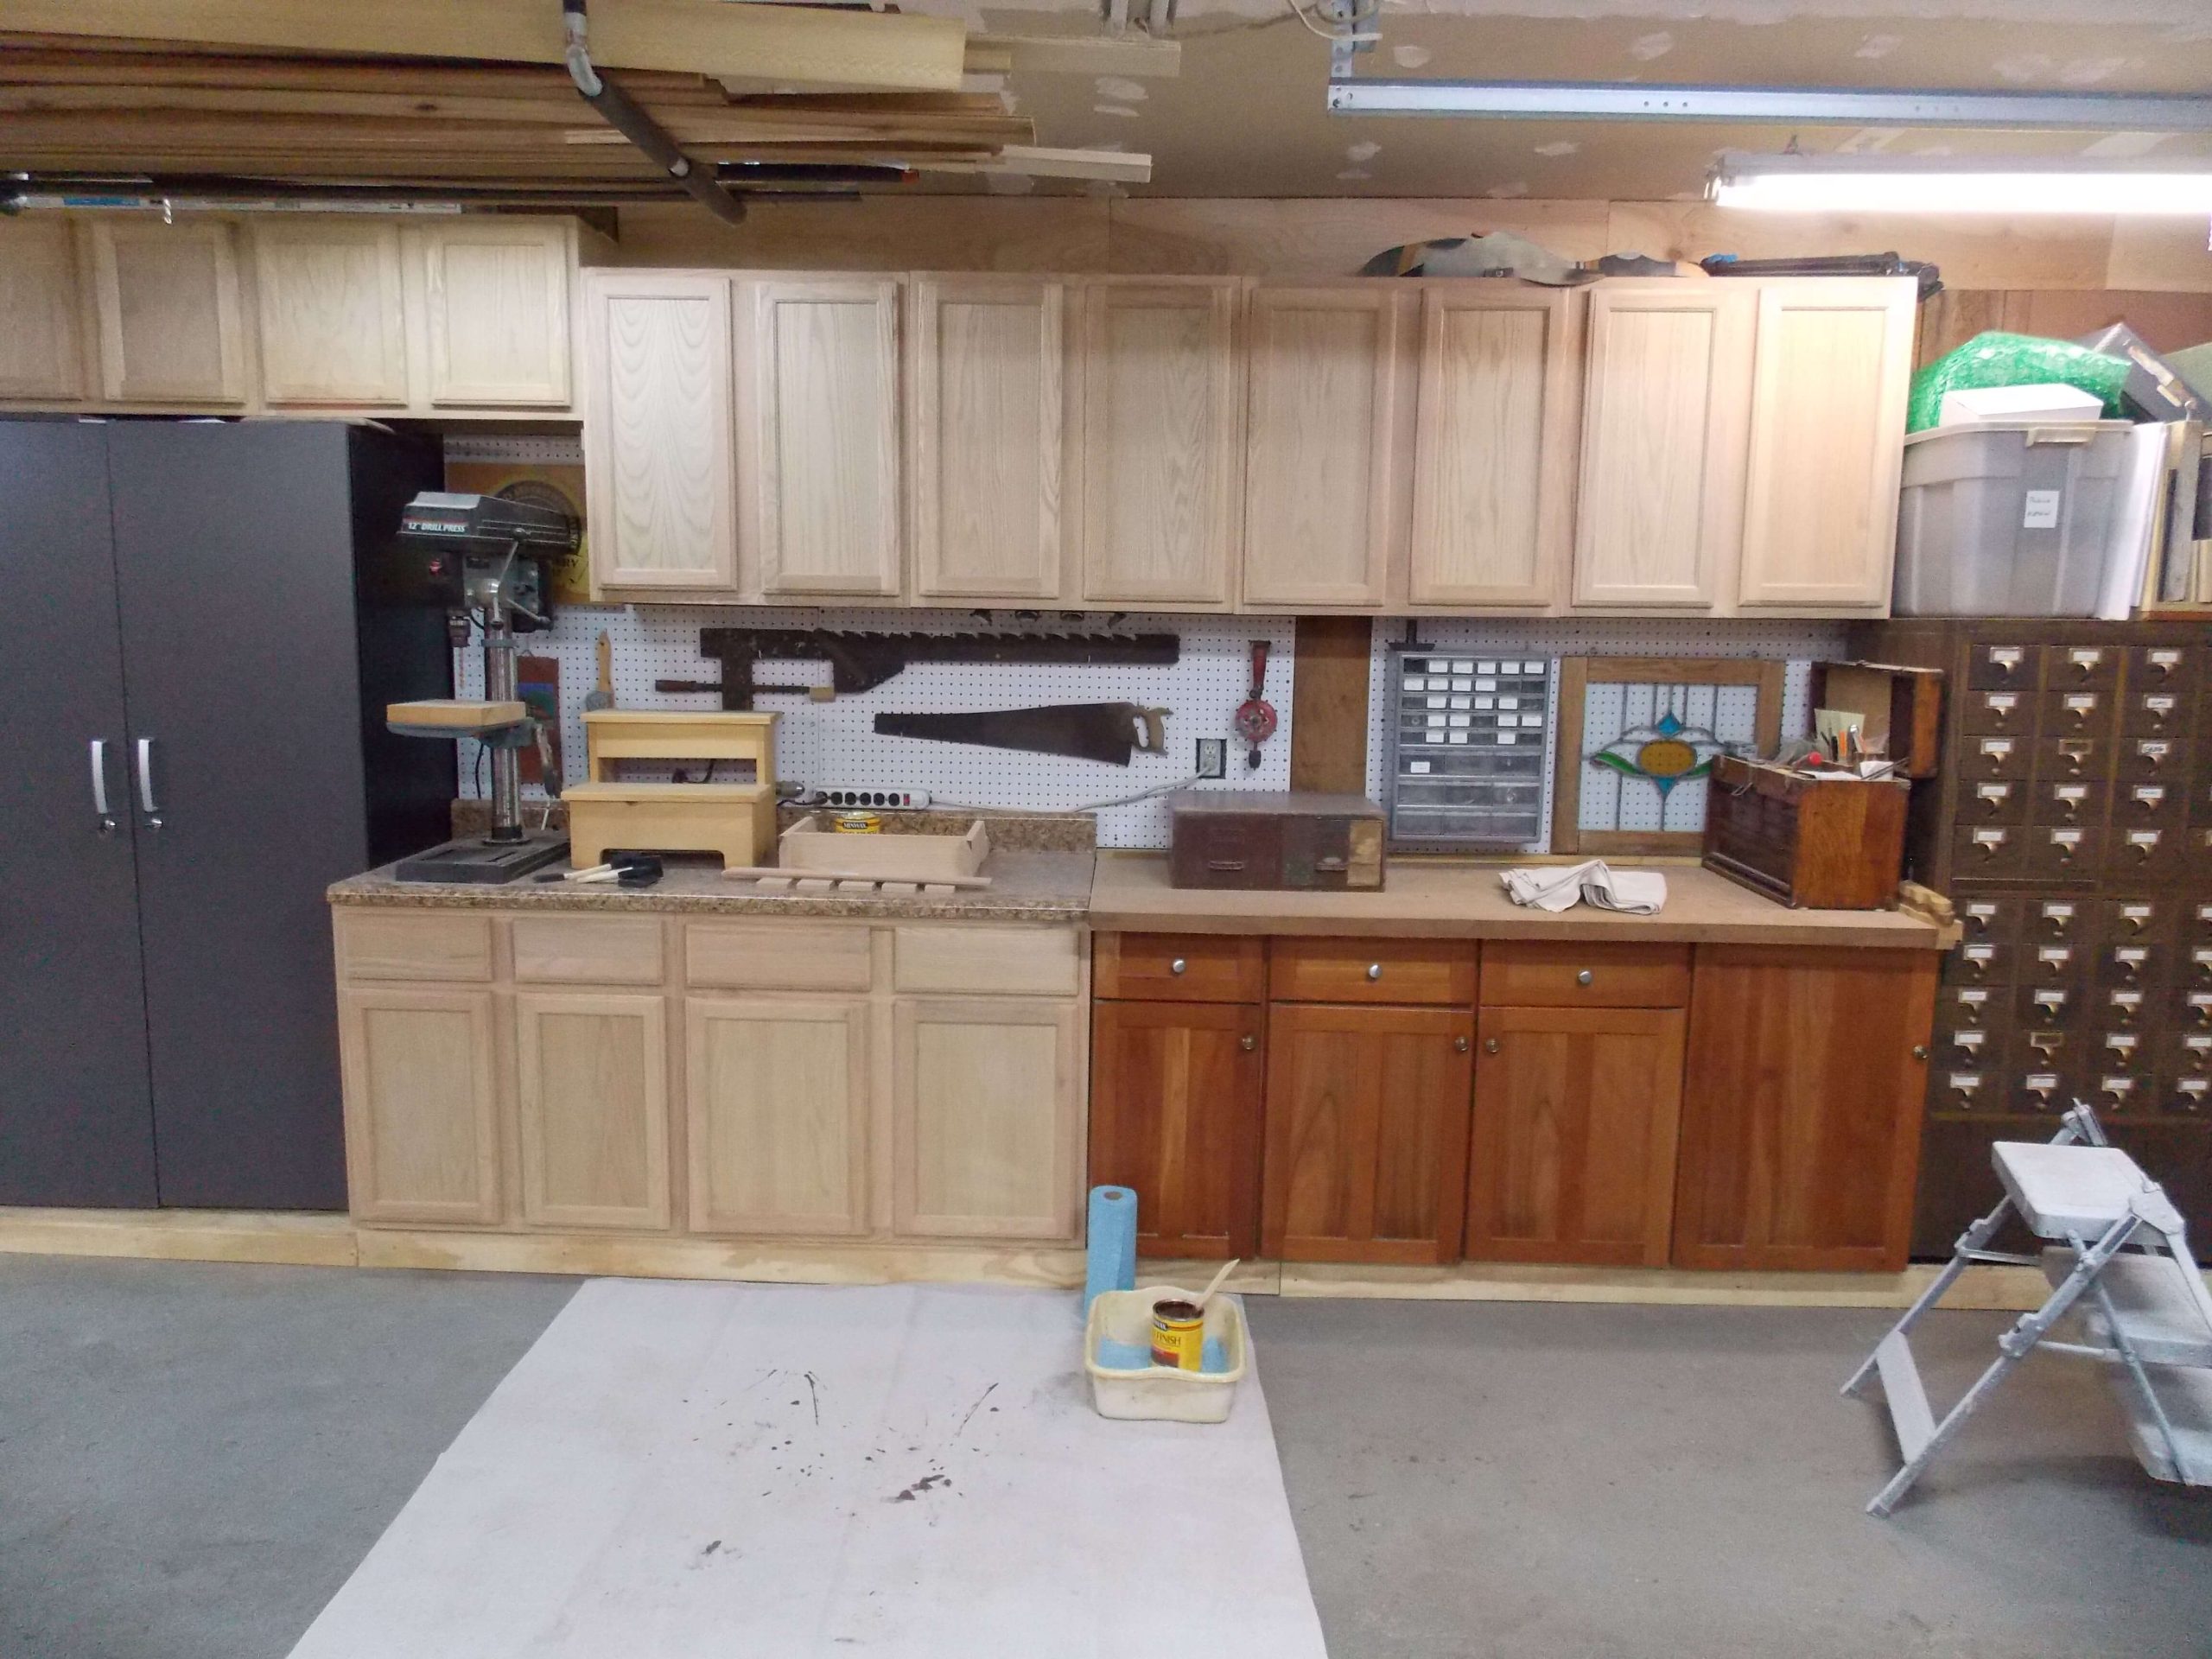
Image Source: www.highlandsdesigns.com
Preparing Your Unfinished Cabinets for a Flawless Finish
Before any color or sheen touches your unfinished cabinets, cabinet prep is the most crucial stage. Skipping this step is like building a house on sand; it won’t last. Good prep work ensures your chosen finish adheres well and remains durable for years to come.
Step 1: Cleaning is Key
Your unfinished cabinets likely have dust, sawdust, and possibly some manufacturing residues.
- Gather your supplies:
- Mild dish soap
- Water
- Clean cloths or sponges
- Bucket
- Process:
- Mix a small amount of mild dish soap with warm water in your bucket.
- Dip a clean cloth into the soapy water and wring it out thoroughly. The cloth should be damp, not dripping wet.
- Wipe down each cabinet door, drawer front, and frame. Work in small sections.
- Use a second clean cloth dampened with plain water to rinse away any soap residue.
- Immediately dry each piece with a dry, clean cloth. This prevents water marks and swelling of the wood.
- Allow all cabinet pieces to air dry completely for at least a few hours, or overnight if possible.
Step 2: Filling Imperfections
Unfinished wood often has small dents, nail holes, or gaps. Filling these now will create a smooth surface.
- Supplies:
- Wood filler (choose one that matches your wood if you plan to stain, or a paintable filler if you’re painting)
- Putty knife
- Fine-grit sandpaper (120-150 grit)
- Process:
- Apply a small amount of wood filler to any holes or dents using your putty knife.
- Press the filler firmly into the imperfection, slightly overfilling it to account for shrinkage as it dries.
- Wipe away any excess filler from the surrounding surface with the putty knife.
- Allow the wood filler to dry completely according to the manufacturer’s instructions. This can take anywhere from 30 minutes to several hours.
- Once dry, gently sand the filled areas smooth and flush with the surrounding wood using your fine-grit sandpaper. Be careful not to sand too aggressively, as you could create a divot.
Step 3: Sanding Cabinets for Smoothness
Sanding cabinets is vital for creating a surface that the primer and finish can grip. This is where you remove any rough spots, mill marks, or dried filler.
- Supplies:
- Orbital sander (optional, but highly recommended for efficiency)
- Sanding sponges or blocks
- Medium-grit sandpaper (100-120 grit)
- Fine-grit sandpaper (150-180 grit)
- Tack cloths
- Respirator or dust mask
- Safety glasses
- Process:
- Safety First: Wear your respirator or dust mask and safety glasses. Sanding creates fine dust that is harmful to inhale and can get into your eyes.
- Initial Sanding: Start with medium-grit sandpaper (100-120 grit) if your cabinets are particularly rough or have mill marks. If they are already fairly smooth, you can start with 120-150 grit.
- Direction: Sand in the direction of the wood grain. If using an orbital sander, follow the grain as much as possible. If sanding by hand, use long, even strokes with your sanding block or sponge.
- Even Pressure: Apply consistent pressure. Avoid pressing too hard in one spot, as this can create unevenness.
- Smoothness Check: After sanding with the medium grit, run your hand over the surface. It should feel noticeably smoother.
- Final Sanding: Switch to fine-grit sandpaper (150-180 grit). This step refines the surface and removes any scratches left by the coarser grit. Sand all surfaces again, following the grain.
- Dust Removal: This is critical. Use a tack cloth to wipe down every single surface you sanded. Tack cloths are slightly sticky and pick up even the finest dust particles that vacuums and brushes miss. Repeat this process with a clean tack cloth until no visible dust remains.
Choosing Your Finish: Paint or Stain?
The next big decision is whether to go with cabinet paint or a cabinet stain. Both offer beautiful results, but they achieve them differently and require slightly different approaches.
Painting Cabinets: A Versatile Choice
Painting offers a wide range of color options, from classic whites and grays to bold accent colors. It also provides a uniform, opaque finish that can hide minor wood grain variations.
Pros of Painting:
* Vast color selection.
* Can cover wood imperfections.
* Durable and easy to clean.
* Modern and classic looks are achievable.
Cons of Painting:
* Can hide beautiful wood grain.
* Requires thorough priming for adhesion.
* Brush strokes or roller marks can be an issue if not done carefully.
Staining Cabinets: Showcasing Natural Beauty
Staining cabinets enhances the natural beauty and grain of the wood. It provides a translucent color that allows the wood’s character to show through.
Pros of Staining:
* Highlights natural wood grain.
* Offers warm, rich tones.
* Can be layered for deeper color.
Cons of Staining:
* Requires careful application to avoid blotchiness, especially on soft woods like pine.
* Wood imperfections will still be visible.
* Color options are more limited by the wood species.
The Priming Process: Building a Solid Foundation
Whether you choose paint or stain, priming cabinets is an essential step for optimal adhesion and a lasting finish. Primer acts as a bridge between the wood and your topcoat, ensuring a smooth, even application and preventing bleed-through from wood tannins.
Step 1: Selecting the Right Primer
- For Painted Cabinets: Use a high-quality oil-based or shellac-based primer. These are excellent at blocking wood tannins and providing a durable surface for paint. Water-based primers can also work well if they are specifically formulated for cabinets or trim, but oil-based/shellac-based are generally preferred for unfinished wood.
- For Stained Cabinets: Typically, you do not prime before staining. However, if you are using a pre-stain wood conditioner on blotch-prone woods, that’s a separate step. If you are staining over an existing finish or using a specific type of stain that requires a primer, consult the stain manufacturer’s recommendations. For raw, unfinished wood that you plan to stain, direct application of stain is the norm.
Step 2: Applying the Primer (for Painting)
- Supplies:
- Chosen primer (oil-based or shellac-based recommended)
- High-quality synthetic bristle brush (for detailed areas and edges)
- Foam roller or mohair roller (for flat surfaces)
- Paint tray
- Fine-grit sandpaper (220 grit)
- Tack cloth
- Process:
- First Coat: Apply a thin, even coat of primer. Start with the cabinet frames and then move to the doors and drawer fronts. Use your brush for corners, edges, and any recessed areas. Use your roller for the larger, flat surfaces.
- Smooth Application: Avoid over-applying the primer, which can lead to drips and brush marks. Work in manageable sections.
- Drying Time: Allow the primer to dry completely according to the manufacturer’s instructions. This is crucial for proper adhesion.
- Light Sanding: Once dry, very lightly sand all primed surfaces with 220-grit sandpaper. The goal here isn’t to remove primer, but to knock down any subtle imperfections or raised grain that the primer might have caused.
- Dust Removal: Use a tack cloth to remove all sanding dust.
- Second Coat (Optional but Recommended): For the best coverage and a truly uniform base, apply a second thin coat of primer. Repeat the sanding and tack cloth steps after the second coat dries.
The Art of Staining Cabinets
If you’ve opted for a cabinet stain, this is where you bring out the natural beauty of the wood. Careful application is key to achieving an even, rich color.
Step 1: Pre-Stain Treatment (Optional, but Recommended for Certain Woods)
Some woods, like pine, maple, and birch, can absorb stain unevenly, leading to blotchy patches. A pre-stain wood conditioner can help prevent this.
- Supplies:
- Pre-stain wood conditioner
- Brush or cloth for application
- Clean, dry cloths
- Process:
- Apply the pre-stain conditioner according to the product’s instructions. Usually, this involves applying it with a brush or rag and letting it penetrate for a set amount of time.
- Wipe off any excess conditioner.
- Allow the conditioner to dry completely before applying the stain. This typically takes about 15-30 minutes, but always check the product label.
Step 2: Applying the Cabinet Stain
- Supplies:
- Your chosen cabinet stain
- High-quality natural bristle brush or lint-free cloths for application
- Clean, lint-free cloths for wiping
- Gloves
- Paint tray or small container
- Process:
- Stir, Don’t Shake: Stir the stain thoroughly before and during use. Shaking can introduce air bubbles that may transfer to your cabinets.
- Test Patch: Always test your stain on a scrap piece of the same wood or an inconspicuous area of a cabinet door to ensure you like the color and application.
- Application Method:
- Brush: Apply the stain evenly with a natural bristle brush, working in the direction of the wood grain. Apply it liberally enough to wet the surface but avoid letting it pool.
- Cloth: For a more natural look and easier application on many woods, use a lint-free cloth. Dip the cloth into the stain, wipe onto the wood, and work it into the grain.
- Wipe Off Excess: This is the most critical part of staining. After applying the stain to a section (e.g., one door or a portion of a frame), immediately wipe off the excess with a clean, lint-free cloth.
- Wipe with the Grain: Wipe in the direction of the wood grain. Apply gentle, even pressure.
- Desired Depth: The longer you leave the stain on before wiping, the deeper the color will be. Check the manufacturer’s recommendations for drying times before wiping.
- Second Coat (Optional): If you desire a deeper color, wait for the first coat to dry completely (check product instructions) and then apply a second coat, following the same application and wiping process.
- Drying: Allow the stain to dry thoroughly. This can take 24-48 hours or longer, depending on the stain type and humidity. Ensure adequate ventilation.
The Beauty of Painting Cabinets
If painting is your preference, here’s how to achieve a smooth, durable finish.
Step 1: Applying the Paint
- Supplies:
- High-quality cabinet paint (alkyd enamel or acrylic latex enamel are good choices)
- High-quality synthetic bristle brush
- Foam roller or mohair roller
- Paint tray
- Fine-grit sandpaper (220 grit)
- Tack cloth
- Process:
- First Coat: Apply your first thin, even coat of paint. Use your brush for edges and detailed areas, and your roller for flat surfaces.
- Even Strokes: Avoid overloading your brush or roller. Aim for smooth, consistent strokes.
- Drying Time: Allow the paint to dry completely according to the manufacturer’s instructions. This is usually a few hours.
- Light Sanding: Once dry, lightly sand the painted surface with 220-grit sandpaper. This helps create a smooth surface for the next coat and ensures good adhesion.
- Dust Removal: Thoroughly wipe down all surfaces with a tack cloth.
- Second Coat: Apply a second coat of paint, repeating the sanding and tack cloth steps if desired for an ultra-smooth finish. Most cabinet projects benefit greatly from two coats of paint.
- Third Coat (Optional): For very light colors or if you notice any thin spots, a third coat might be necessary.
Applying the Topcoat: Sealing and Protecting
Whether you stained or painted, a cabinet sealant or topcoat is essential. This protective layer shields your cabinets from moisture, grease, and everyday wear and tear, ensuring your beautiful finish lasts.
Step 1: Choosing Your Topcoat
- For Stained Cabinets:
- Polyurethane: Available in oil-based (more durable, yellows slightly over time, good for high-traffic areas) and water-based (clearer, dries faster, less durable than oil-based). Look for polyurethane specifically designed for furniture or cabinets.
- Varnish: Similar to polyurethane, often offering excellent durability.
- Lacquer: Dries very quickly and creates a hard finish, but requires spray application and good ventilation.
- For Painted Cabinets:
- Polyurethane (clear): This is often the best choice for painted cabinets, adding a protective layer without altering the paint color significantly. Again, oil-based or water-based options are available.
- Clear Acrylic Sealer: Can also provide protection.
- Cabinet-specific Topcoats: Many paint manufacturers offer clear topcoats designed to enhance the durability of their cabinet paints.
Step 2: Applying the Topcoat
- Supplies:
- Your chosen topcoat/sealant
- High-quality synthetic bristle brush or foam applicator
- Fine-grit sandpaper (220-320 grit)
- Tack cloth
- Gloves
- Process:
- Thin Coats are Key: Apply the topcoat in thin, even coats. Over-application can lead to drips and an uneven finish.
- Brush or Applicator: Use your brush or applicator and work with the grain. Avoid overworking the product.
- Drying Time: Allow each coat of sealant to dry completely according to the manufacturer’s instructions. This is crucial for adhesion between coats.
- Light Sanding Between Coats: After each coat of sealant has dried, lightly sand with 220-320 grit sandpaper. This “de-nibbing” process removes any dust specks or minor imperfections and creates a better surface for the next coat to adhere to.
- Dust Removal: Always use a tack cloth to remove all sanding dust after each sanding stage.
- Multiple Coats: For maximum durability, apply 2-3 coats of your chosen topcoat.
Reassembling and Enjoying Your Beautiful Cabinets
Once all the coats of paint, stain, and sealant have dried thoroughly (this can take several days for full cure, so be gentle in the meantime), it’s time to reassemble your kitchen cabinets.
- Reattach Hardware: Screw on your cabinet hinges, knobs, and pulls.
- Install Doors and Drawers: Carefully rehang your cabinet doors and slide your drawer fronts back into place.
- Admire Your Work: Step back and enjoy your beautifully finished unfinished kitchen cabinets!
Factors to Consider for a Professional Finish
Achieving a professional look involves more than just applying product. Consider these elements:
Wood Type and Grain
- Hardwoods (Oak, Maple, Cherry): These woods generally take stain beautifully and evenly. They also provide a hard, durable surface.
- Softwoods (Pine, Fir): These woods are more prone to blotching when stained. Using a pre-stain conditioner is highly recommended. They are also softer, meaning they can dent more easily, but they are often more budget-friendly.
Application Tools
- Brushes: Invest in high-quality brushes made of synthetic bristles for water-based products and natural bristles for oil-based products.
- Rollers: Foam rollers are excellent for smooth finishes on flat surfaces, especially with paint. Mohair rollers can also provide a smooth finish.
- Spraying: For a truly factory-like finish, consider spraying your cabinets. This requires a paint sprayer, proper ventilation, and practice, but it yields the smoothest results.
Ventilation and Curing Time
- Ventilation: Always work in a well-ventilated area. Open windows, use fans, and wear a respirator.
- Curing: While cabinets might feel dry to the touch within hours, they can take days or even weeks to fully “cure” and reach maximum hardness. Be gentle with them during this period. Avoid placing heavy items on them or exposing them to excessive moisture.
Table: Quick Reference Guide to Cabinet Finishing
| Stage | Key Steps | Recommended Grit Sandpaper | Key Materials |
|---|---|---|---|
| Preparation | Clean, fill holes/imperfections, sand smooth. | 100-120, 150-180 | Mild soap, water, wood filler, sandpaper, tack cloths |
| Priming (for paint) | Apply 1-2 thin coats, sand lightly between coats, remove dust. | 220 | Oil-based or shellac-based primer, brushes, rollers |
| Staining | Apply stain, wipe off excess immediately with grain. Test first. Consider pre-stain conditioner for blotchy woods. | N/A (Wipe off excess) | Cabinet stain, cloths, brushes |
| Painting | Apply 2-3 thin coats, sand lightly between coats, remove dust. | 220 | Cabinet paint, brushes, rollers |
| Topcoat/Sealant | Apply 2-3 thin coats, sand lightly between coats, remove dust. | 220-320 | Polyurethane, varnish, acrylic sealer, brushes |
Frequently Asked Questions (FAQ)
Q1: Do I need to sand unfinished cabinets before painting or staining?
A1: Yes, absolutely. Sanding is crucial for proper adhesion of primers, paints, and stains, as well as for creating a smooth, beautiful finish.
Q2: Can I paint over stained cabinets?
A2: Yes, but it requires thorough preparation. You’ll need to clean, lightly sand, prime, and then paint. If the stain is very dark or the wood is prone to bleeding tannins, a stain-blocking primer is essential.
Q3: How long does it take to finish kitchen cabinets?
A3: The time can vary greatly depending on the size of your kitchen, your chosen finish, and whether you’re spraying or brushing/rolling. A conservative estimate is typically a week or more, allowing for drying and curing times between coats.
Q4: What is the best way to apply cabinet stain to avoid blotchiness?
A4: For woods prone to blotching, use a pre-stain wood conditioner. Apply the stain evenly, and wipe off the excess promptly. Some people find using a gel stain or a wiping stain with a cloth can also yield more consistent results.
Q5: Should I remove cabinet doors and drawers before finishing?
A5: Yes, it is highly recommended to remove cabinet doors, drawer fronts, and shelves. This allows for easier access to all surfaces, ensuring a more thorough and even finish. It also makes it easier to achieve a smooth, professional look without getting paint or stain on areas you don’t intend to cover.
By following these detailed steps, you can transform unfinished kitchen cabinets into a stunning feature of your home. Patience and attention to detail are your best tools for a beautiful, long-lasting result.